> For the complete documentation index, see [llms.txt](https://docs.abtasty.com/llms.txt). Markdown versions of documentation pages are available by appending `.md` to page URLs; this page is available as [Markdown](https://docs.abtasty.com/integrations/pull-integrations/google-analytics.md).
# Google Analytics
## G4 & AB tasty
**Google Analytics** is an analytics service that enables you to measure traffic and engagement across your websites and apps. Google Analytics 4 is the latest version of Google Analytics.
The Google Analytics 4 integration allows you to receive the audience created in Google Analytics, and to target them with AB Tasty.
**Good to Know 💡- Google Analytics 4 Audiences**\
Audiences are groups of users defined by a chosen set of criteria. Dimensions, metrics, and events can be used to segment practically any subset of users.\
To achieve Google Analytics 4 audience targeting, we push our unique identifier (AB Tasty visitor ID) into a user property for every session and then list the value of this user property for the different existing audiences through Google Analytics API. The following day, audiences and their makeup are sent to AB Tasty.
Thus, the Google Analytics 4 integration setup process is taking place on several platforms :
* **Google Cloud Platform:** to create the credentials to access the Google Analytics data
* **Google Analytics 4:**to set up the collection of the AB Tasty **visitor ID**
* **AB Tasty:** to effectively set up the integration
{% hint style="warning" %}
**Heads up**⚡\
An email account with admin access to Google Analytics 4 accounts is required to complete the setup.
{% endhint %}
## Requirements
Because we must send our abtasty\_visitor\_id (as a user property - see later in this documentation) and because this integration is with GA4, your website must have a dataLayer (at least only gtag.js or full GTM).
On your website, this command should be available:
```
window.google_tag_manager
```
The first key corresponds to the measurementID you want to send some native hit into GA4. This measurementId must be entered in the configuration of the integration in AB Tasty (see later).
## Integration
### Creating the Credentials on the Google Cloud Platform
We need credentials with granted access to access Google Analytics 4 API programmatically. Those are OAuth types of credentials and are created within the Google Cloud Platform.
#### Accessing a GCP Project [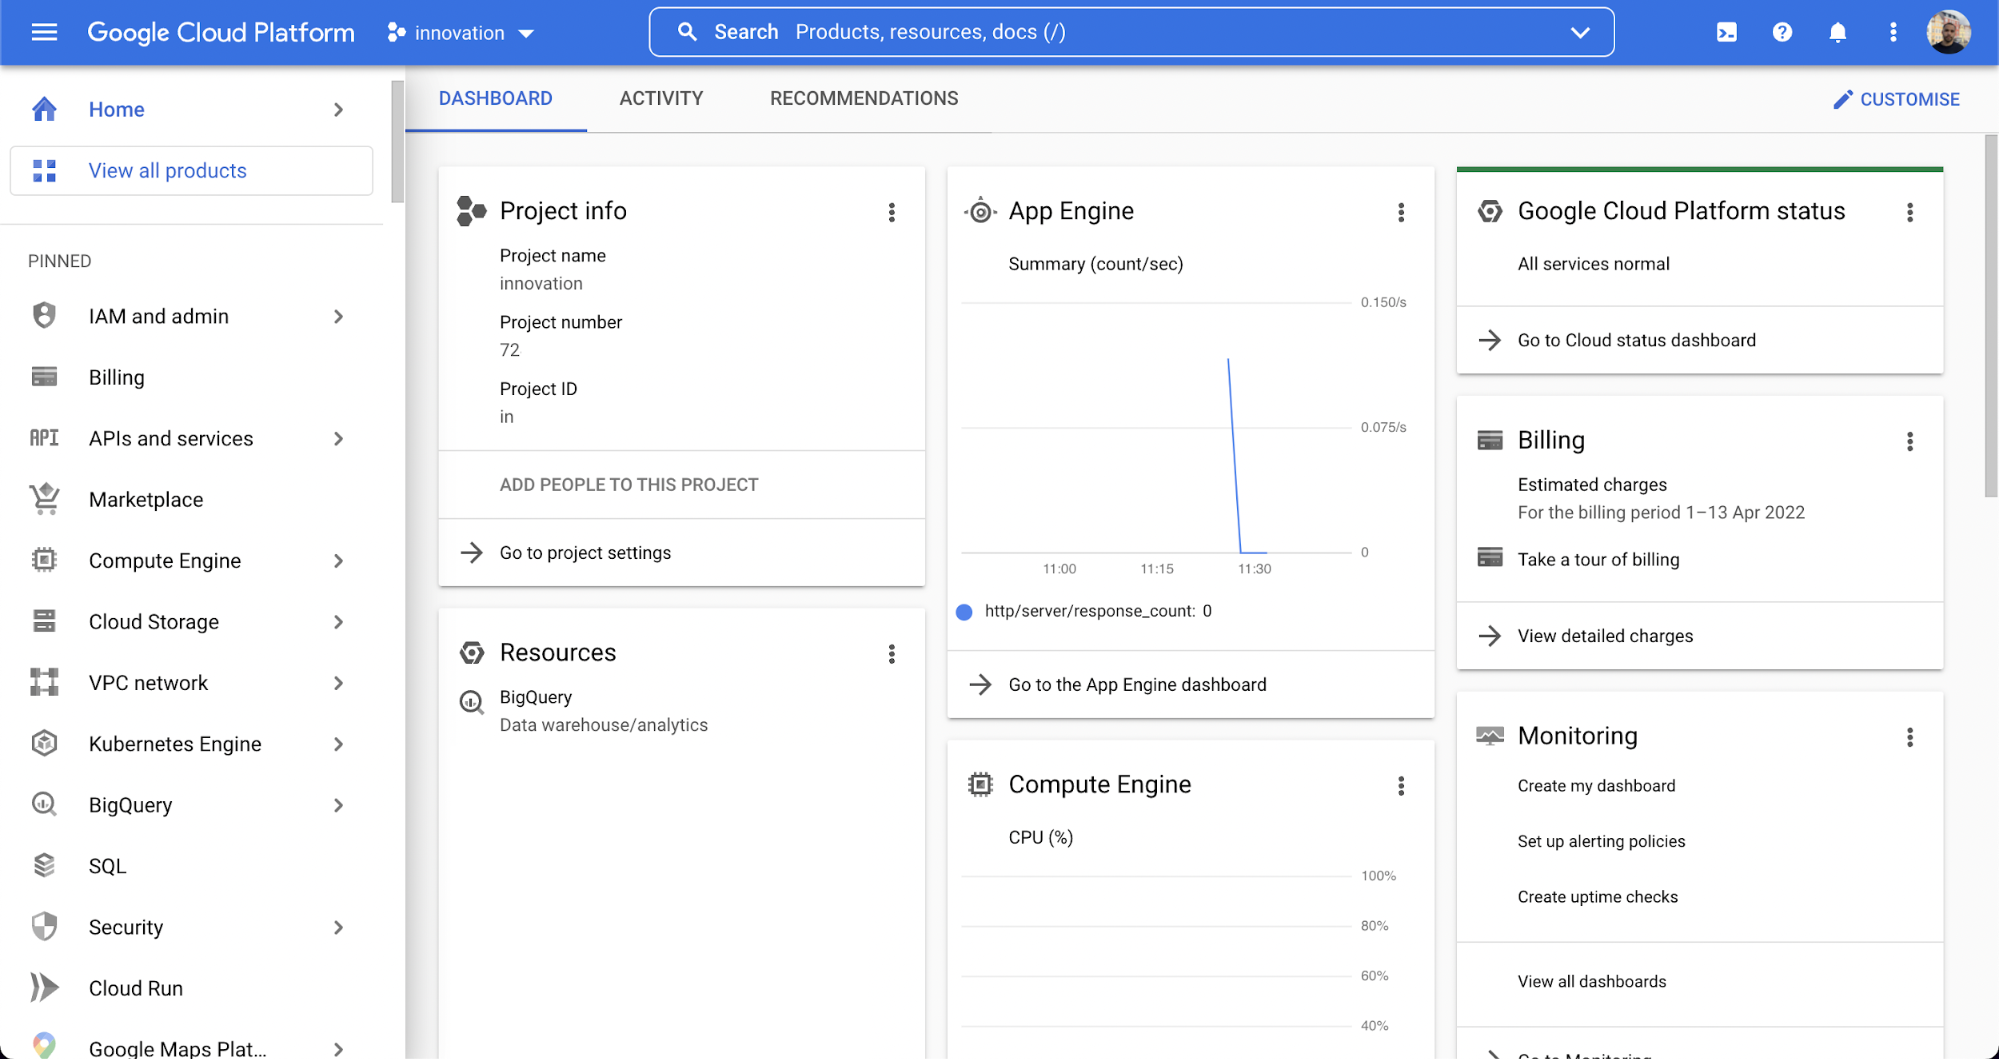](https://gitlab.com/abtasty/team/product-management/gitbook-documentation/-/blob/main/user/.gitbook/assets/9325a810e5b958892419af701f4afed9.png) To access a GCP Project, follow the steps below:
1. Access the [***Google Cloud Platform console***](https://console.cloud.google.com/)***.***
2. Select an existing project or create a brand new one. ([***Documentation to create a bespoke project***)](https://cloud.google.com/resource-manager/docs/creating-managing-projects#creating_a_project)
#### Activating the Google Analytics 4 API
To activate the Google Analytics 4 API, follow the steps below:
1. In the Google Cloud Platform interface, open the console left side menu and select **APIs & services**.
2. On the left, click **Library**, search for the “Google Analytics Data API” and select it. Click **Enable**.\
\
OAuth Credentials
**OAuth Consent Screen Setup**
Before creating the OAuth credentials, you need to check that you have an OAuth consent screen setup. If you don’t, you need to set it up (if you just created the GCP project, that will be the case). The OAuth consent screen is the screen that will appear when you grant access to your credentials.
**Check the OAuth consent screen:** Open the console left side menu and select **APIs & services**: click **Credentials > Create Credentials > OAuth consent screen**. If you see an app already exists here, it means the consent screen is set up, and you can proceed to the next step: OAuth Credentials creation.
If there is no existing app, you will see the first step of the creation process:
1. Choose the **Internal** option if you are a **Google Workspace** user, otherwise choose **External**. Click the **Create** button
2. Under **App information**, enter an **App name**. It can be something similar to the project name.
3. **User support email**: enter your email address (the one used to connect to GCP).
4. **Developer contact information, and email address:** enter your email address (the one used to connect to GCP).\
All other fields are optional.
5. Click **Save and continue**\\
6. Click **Add or remove scopes**.
7. Tick the**.../auth/userinfo.email** scope. Validate by clicking **Update**.
8. Click **Save and continue**\
\\
9. Add your email address (the one used to connect to GCP) as a test user. Click **Save and continue**.\
\\
10. You have reached the summary screen, click **Back to dashboard**
11. On the dashboard of the created Oauth consent screen, you should switch the **Publishing status** to **In production** by clicking the **Publish app** button.
The OAuth consent screen is now ready, and you proceed to the OAuth Credentials creation step.
**OAuth Credentials Creation**
To create OAuth credentials, follow the steps below:
1. Open the console left side menu and select**APIs & services**.
2. On the left, click**Credentials > Create Credentials > OAuth client ID**.\\
3. Select **Web Application** as the **Application type**. Give the bridge a descriptive name such as e.g. “GA4 to AB Tasty Audience bridge”.
4. Under **Authorised redirect URIs** add “\*\*
All other fields are optional.
5. Click **Create**to finalize the OAuth credentials creation.
6. A confirmation message appears, it also displays the **Client ID** and the **Client Secret** of your Oauth credentials. Copy-paste and save for later (you can also download them in a **.json** format).\
\
Congratulations! You now have all the information you need to set up the integration on AB Tasty (see next step).
### Enabling the Integration on AB Tasty
To enable the integration on AB Tasty, follow the steps below:
1. Access **Integrations > Integration Hub > Pull**.
2. Search for and select **Google Analytics 4**.
3. Click **Setup connector.**
4. Give a name to your connector so you can easily retrieve it.
5. Input your Measurement ID
6. Click **Authorize and Create.**
You are redirected to another setup screen. You have different fields to fill in to set up the integration:
* **Connector Name:** the name of the connector, you can name it as you want. We recommend giving it an explicit e.g. "GA4 - propertyXX" (here propertyXX would be the id of the property you will pulling audiences from.
* **Property ID:** it is the unique ID of your GA4 property. To retrieve your Property ID, access the Google Analytics interface and click **Admin > Property > Property Settings**. Property ID appears at the upper right. For further information, please refer to this [***article***](https://developers.google.com/analytics/devguides/reporting/data/v1/property-id)***.***
* **GA Measurement ID**: it is the unique ID of a data stream (i.e. One of the data sources that provides data for your property). To retrieve your GA Measurement ID, access the Google Analytics interface and click **Admin > Property > Data Streams > Web,** and choose your data stream. **GA Measurement ID** appears at the upper right.\
For further information, please refer to this [***article***](https://support.google.com/analytics/answer/9539598?hl=en)***.***
* **Client ID**: part of the credentials to be able to access Google Analytics Data (see previous steps).
* **Client secret**: part of the credentials to be able to access Google Analytics Data. Copy and paste the value saved from the previous steps.
2\. Once all fields are filled, click **Get refresh toke**
3\. You are redirected to Google's authorization screen: select the account with which you have access to the Google Analytics property and then click **Authorize** to grant access. This will authorise AB Tasty pull data (audiences from your GA4 API).
4\. You are redirected to AB Tasty's settings interface, and you can see the GA4 connector activated. If you click on the connector, you will see all the fields filled, including the refresh token.
For further information on Oauth 2.O please refer to this [***documentation*** ](https://support.google.com/cloud/answer/6158849)or this [***documentation***](https://developers.google.com/identity/protocols/oauth2/web-server)***.***
Congratulations! The GA4 pull integration is now set up on AB Tasty's side. You now have to configure GA4 in order to make it work (see next step).
## Configuration
To push the AB Tasty Visitor ID we use a user property named **abtasty\_visitor\_id** that is sent with an event named **abtasty**. Therefore, we need to set up the collection of custom definitions on GA4's interface.
The AB Tasty Visitor ID is then pushed back to AB Tasty for targeting.
1. In the left panel, click **Configure**>**Create custom dimensions**.
2. Enter the **Dimension name** you want to display in Google Analytics 4 e.g. “AB Tasty Visitor ID”.
3. Select **User** as the **Scope**.
4. Enter a description (optional).
5. Enter **abtasty\_visitor\_id** as the **User property**.
6. Click **Save**.\
\
Congratulations, integration is now set up, and you can view your Google Analytics 4 Audiences with AB Tasty. For global information on how to build a targeting segment, please refer to [how to create a segment](/web-experimentation-and-personalization/targeting-step/how-to-create-a-segment-who-section.md).
#### **Sending our abtasty\_visitor\_id**
How do we push our abtasty\_visitor\_id?
* Until September 2024, we always sent this specific id into GA4 thanks to this API call (url : ''; We added the abtasty\_visitor\_id, the sessionId, the clientId as query params. The name of the event was “***abtasty”.*** This method could generate some troubles (especially for users which have a GTM server side, with their own custom url).
* Since that date, we use your dataLayer in order to send the ***abtasty\_visitor\_id*** as user\_property and thanks to a new event, which is ***abtasty\_pull.***
* This event will be visible on the Google Analytics 4 interface (you can ignore it) and the abtasty\_visitor\_id will be visible too.
**Example of sending of abtasty\_visitor\_id:**


#### **Technical Specification**
* Audiences will be refreshed daily
* AB tasty pushes the **abtasty\_visitor\_id** to Google Analytics 4 with the **abtasty** event, thus once the integration is set up the **abtasty** event and **abtasty\_visitor\_id** will be visible on the Google Analytics 4 interface.
* The **abtasty\_visitor\_id** is used to match users.
* For the audiences to be used in AB Tasty’s segment builder (once exported from Google Analytics 4), we need to match at least one user i.e. Empty audiences will not be displayed in the segment builder.
* For the audience to be visible in the segment builder, you need to wait 24 hours after the setup of the integration. This is due to the different synching mechanisms between the tools (data collection by Google Analytics 4 and then the data import from Google Analytics 4 to AB Tasty).
---
# Agent Instructions
This documentation is published with GitBook. GitBook is the documentation platform designed so that both humans and AI agents can read, navigate, and reason over technical content effectively. Learn more at gitbook.com.
## Querying This Documentation
If you need additional information that is not directly available in this page, you can query the documentation dynamically by asking a question.
Perform an HTTP GET request on the current page URL with the `ask` query parameter:
```
GET https://docs.abtasty.com/integrations/pull-integrations/google-analytics.md?ask=
```
The question should be specific, self-contained, and written in natural language.
The response will contain a direct answer to the question and relevant excerpts and sources from the documentation.
Use this mechanism when the answer is not explicitly present in the current page, you need clarification or additional context, or you want to retrieve related documentation sections.